Visualizer 3D Studio3D Analysis: Scan Information / Characteristics
The Scan Information Panel located in the Right Sidebar provides both general details about the scan image (e.g., date and time, field length and width) and specific data for each scan point (e.g., position, depth, GPS coordinates).
Figure 1 displays the Scan Information Panel, including its toolbar and the different categories of information.

The toolbar of this panel contains following buttons:
 |
Open Google Maps Push this button to open Google Maps in your webbrowser to indicate the location of the current measurement. This button is only enabled if valid GPS coordinates are attached to the current measurement. |
 |
Edit Characteristics Push this button to edit the characteristics of the current scan image (e.g. field length and width, project title and notes, soil type, etc.). Read subsection Editing Characteristics for further details! |
The information categories that are displayed in the Scan Information Panel are:
-
General
This category contains information about the date and time when the scan was taken as well as the operating mode that has been used to conduct the current measurement. Additionally it provides the total number of scan values.
-
GPS Location
This category provides location information like Longitude and Latitude of the current scan value (the value at the crosshairs).
-
Crosshairs
The last category provides all information regarding position and depth of each scan value.- Impulse ... indicates the distance to the starting point (red axis).
- Scan Line ... indicates the distance to the right side of the scan area (green axis).
- Depth ... indicates the depth of the selected scan value (blue axis). The depth value depends on the selected soil type.
- Scan Value ... indicates the raw value of the measured data. This value is mostly interesting for support issues (and must be enabled in the General Preferences).
Additional data concerning each individual scanning point of the measurement may be found beneath those values. The type of scan determines the type of information available.
-
VLF
Added in 3.3.0
This section is only available for 3D VLF Scans as used by the OKM eXp 7000 Professional Plus.Here, you can select which Target-ID Zones you want to appear in the scan image. You can either select a predefined profile or check one or more of the ten Target-ID Zones individually.
Editing Characteristics
The basis of each 3D scan analysis is information. You must provide as much information regarding the measurement as possible. Therefor click either  in the Main Toolbar or the toolbar of the Scan Information Panel. The dialog from figure 2 will appear on screen.

General
In the General category you can enter following information:
-
Project Title
Give your project a descriptive name. This title will also appear on any PDF Report that you are going to create.
-
Notes
This text field can be used to add any additional information that might be necessary to be written down (e.g. description of environment or measurement conditions).
-
Scan Mode
Select the proper scan mode that has been used to record the measurement. Especially for older scan files this value must be applied manually.
-
Field Length
Enter the length of the scan area to determine correct position information.
-
Field Width
Enter the width of the scan area to determine correct position information.
-
Latitude
Enter the GPS Latitude of your scan area to mark its position for Google Maps.
-
Longitude
Enter the GPS Longitude of your scan area to mark its position for Google Maps.
Scan Field Overlay
You can add a photograph of your scan area (preferably from bird's view) and overlay it with your scan image to get a better indication of the position of potential targets within your measurement.
Figure 3 shows an example of that kind of image that has been included in the scan image.

Use the  button to open an image from your hard disk and the
  button to delete the assigned image.
After opening an image you have to adjust the mapping of the image. Move your mouse pointer over the colored squares and while holding the left mouse button down, you move the square to the appropriate corner of the scan area in your image. Only then the image will be mapped correctly on top of your scan image.
Soil Type
You should also set a proper soil type. Figure 4 shows the list of soil types.
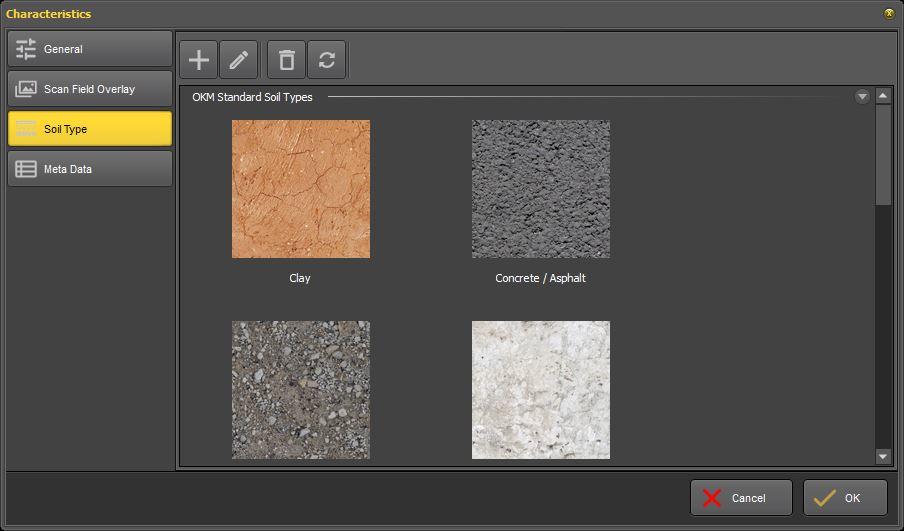
Please choose the most relevant soil type from this list to make sure the depth calculation is as precise as possible.
Meta Data
Added in 3.1.0
In this section you may enter additional information based on pairs of name and value, e.g.
- Scan Direction: North-East
- Scan Field: B-2
- Weather Conditions: rainy, wet

Depending on your individual settings, those information can be included in the PDF Report.