Gepard GPR 3D Tutorial Part 3
01 يوليو 2020
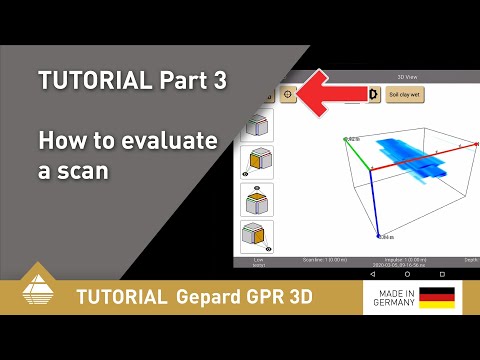
In this tutorial we take a look at one of our measurements that we performed with the Gepard GPR. Since we saved our last measurements, we can analyze these quite easily at home in detail.
Learn how to:
- check if you have chosen the right scan properties
- choose the correct soil type
- change contrast and saturation
- rotate the scan image
- use the 3 coordinate axes for orientation
- use the 4 quick views
- determine position and depth of the detected object
- read the information in the status bar
- switch between 2D and 3D view
- export the scan into various formats

26 مارس 2026
الشرطة في باراغواي تعتمد على تكنولوجيا OKM للكشف تحت سطح الأرض
تستخدم الشرطة في باراغواي تقنية OKM للرادار الأرضي (GPR) للكشف عن الهياكل تحت سطح الأرض.
01 مارس 2025
Vتدريب ميداني مع OKM Americas: رادار جيبارد الراداري العميق في شيفرون
أجرت OKM الأمريكتين دورة تدريبية في Gepard GPR في مواقع العملاء، حيث قدمت دورة تدريبية في مجال الكشف عن خطوط ...
29 يناير 2025
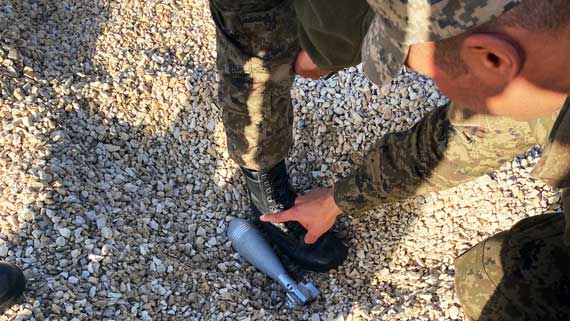
من الرمال إلى مدافع الهاون: فرانك كاسر يدرب الجيش التونسي على استخدام الرادار المخترق للأرض
يقوم فرانك كاسر بتدريب الجيش التونسي على الرادار المخترق للأرض (GPR) ويوضح للمهندسين والمتخصصين كيفية اكتشاف قذائف الهاون والتهديدات تحت ...